It's about that time of year when I'm hearing some of you whisper the 'C' word on your blogs. And really, there's nothing wrong with that! It's a little disconcerting to see how early holiday things get put up in stores, but when you're making it yourself you gotta start early! So, I'm writing the first of my - I'm just gonna go for it - CHRISTMAS posts for the season. Although there's some non-Christmasy stuff in there at the end, too, so bear with me.

Finished presents under the tree.
A few years ago I stopped buying wrapping paper. The main reason was that it seemed wasteful, since you can't even recycle it. So I bought a huge roll of butcher block paper (I got mine
here). And when I say huge, I mean I will probably never have to buy another one in my lifetime. So if the cost upfront seems a lot, just think about what it ends up being per package... (umm, the answer would be 'next to nothing').

Wrapping in progress.
Since I was only going to get one roll, I went for white, which seemed as though it would be the most versatile. And it really is! Some of the packages I leave white, and on some I stamp the paper. But for all of them, I add pretty ribbons and other 'extras':

A cardstock tree silhouette, using a cookie cutter to trace the outline (see image above mid-process).

A (fake, obviously) poinsettia.

Stamped snowflake paper with a silver, snowy ornament.
I have a tag-shaped paper punch, so to each of my gifts I add a tag with a tiny stamp that goes well with the wrapping, and then write the 'To/From' on the back.
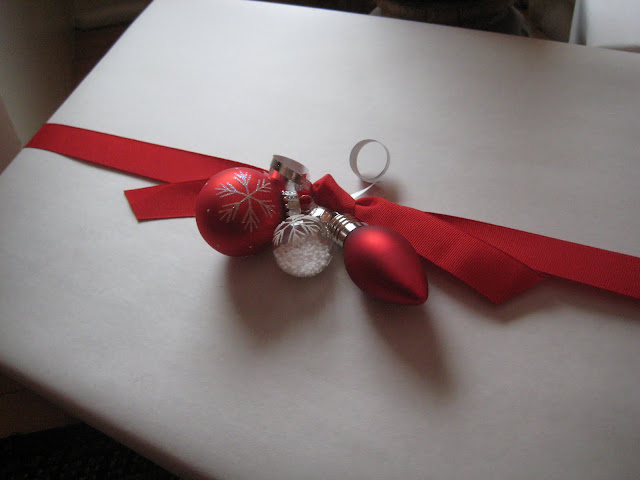
An added bonus to wrapping gifts this way (which I should have realized would be the case, but I hadn't actually thought about it) was that all of a sudden, the whole gift became the gift. If that makes sense. I have always put a lot of thought into the gifts I give, and as much as possible I like to make them myself (or buy someone else's handmade work!). And now, with my new way of wrapping, the outside of the box fits so well with what is in it. I started getting extra creative with the way I would wrap gifts - for example, at Christmas time I would add little ornaments that could be taken off the package and hung on the tree. Sometimes I attach things to the gift that hint at what is under that wrapping paper.

A gift with an ornament.

A note about the fake flowers - I actually hate fake flowers. If I'm going to have flowers in my house, I'd like the real thing, thankyouverymuch. (Though if you like fake flowers, please don't take offense - I get the appeal, as you don't have to keep replacing them and it doesn't matter if you have a green thumb, etc). However, once I started wrapping presents this way, I saw a use for fake flowers. I started buying them after each holiday or season. That way, I could get them really cheaply, and use them the next time that season rolled around. In my craft room closet I have several vases filled with fake flowers - a vase for each season, in fact!
Another thing I like to do is buy ornaments in the after-Christmas sales, and use them the following year. That way, it really doesn't add much to the overall cost of the wrapping, but it sure packs a great visual punch!
More Christmas ornaments.

Stamped tree paper, with a gold star on the top of each tree (and a ribbon and an ornament to match!).

More presents under the tree...

Candy cane stamps with a matching tag and peppermint candy ornaments (it'd be fun to add real peppermint candies or a candy cane to this, as well - a new idea for this year!!).

Snowflake stamps with a white ribbon.
All the ribbons I use are reusable (and in many cases, are being reused) to add to the overall 'thriftiness' of the whole thing.

Tiny packages with candy cane and holly stamps.

More snowflakes and candy canes...

Are you getting sick of seeing presents under the tree?! Well, luckily I've got something else for you now (yes, you may breathe a sigh of relief at this point. That was an awful lot of Christmas this early in November).
Do you remember my Valentine's wrapping paper, from
this post? Just white paper and pipe cleaner hearts, but I love how they turned out!

My mom has a spring birthday, so here are her presents from one year:

White paper on two of them, green tissue paper for one, and spring flowers for all!
And speaking of birthdays, last year I made clock wrapping paper for 24 presents, one for each hour of the day. Each present was wrapped in white paper with a white ribbon (and some were 'coupons' I'd created on white cardstock). For each one, I drew a clock face on the paper (or cardstock) with the hands pointing the hour of the day the present was for:
Very simple, but I think they look good together!
There's another wrapping paper option you can do with this wonderful paper if you have kids (or if you can borrow some, as I did):
Have the kiddos draw pictures on the paper, and then wrap gifts for your family in it (or their family, if they're not yours!). They'll want to keep the paper, as well as the gift!
Handprints are fun to make, too!
(So much fun, you'll probably want to make some yourself...)
I used this wrapping paper to wrap some gifts for a new momma and her baby.
So yeah, that was an awful lot of talkin' and photos. But I hope that this might give you some ideas for the upcoming holiday season (and beyond!).


